
A bandsaw blade should be tensioned firmly, but not so tight that it causes damage or instability. The goal is proper bandsaw blade tension that allows the blade to cut straight and efficiently without flexing or, worse, snapping. This tension is crucial for both the quality of your cuts and the longevity of your bandsaw and its blades.
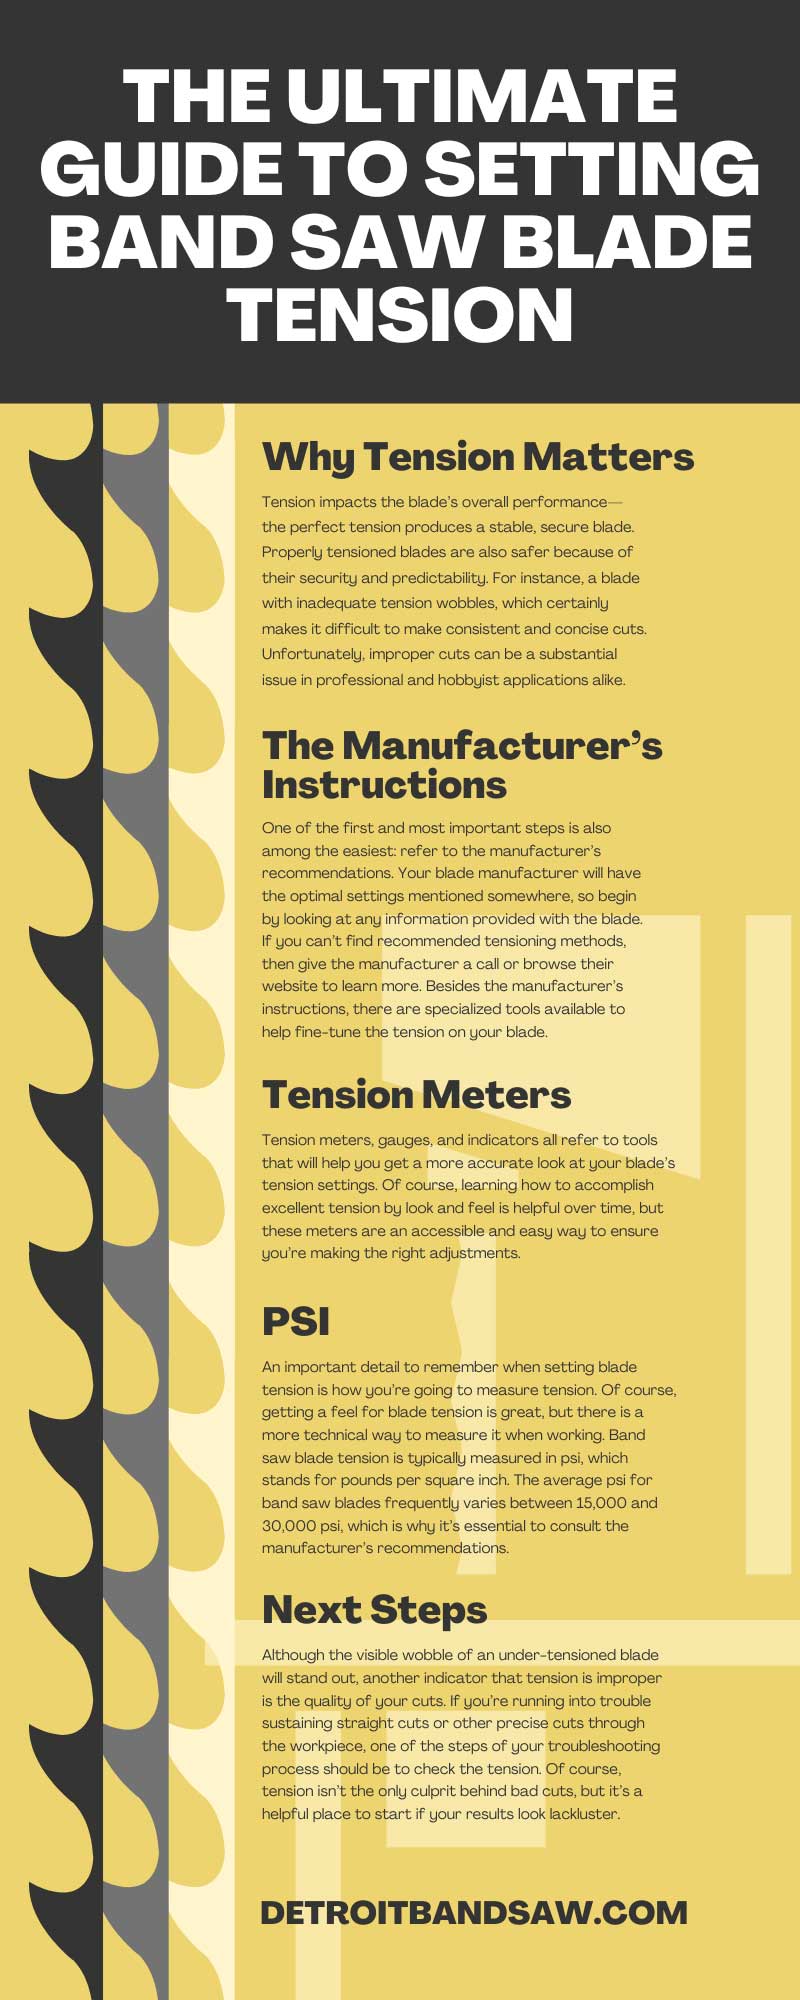
Image Source: www.detroitbandsaw.com
Deciphering Bandsaw Blade Tightness: The Core Principle
The tightness of a bandsaw blade, often referred to as bandsaw blade tensioning, is one of the most critical adjustments you’ll make on your machine. It directly impacts how the blade interacts with the material you’re cutting and the overall performance of the saw. Getting this right prevents many common problems, from crooked cuts to premature blade wear.
Why Tension Matters So Much
Imagine a guitar string. If it’s too loose, it buzzes and doesn’t produce a clear note. If it’s too tight, it can snap. A bandsaw blade operates on a similar principle. Bandsaw blade tightness affects:
- Cut Accuracy: A blade that is too loose will wander, leading to curved or angled cuts.
- Blade Life: Incorrect tension can stress the blade, leading to premature dulling or breakage.
- Machine Wear: Excessive tension can put undue stress on the bandsaw’s wheels, bearings, and frame.
- Safety: A blade that is too loose can come off the wheels, posing a significant safety hazard.
The Danger of a Bandsaw Blade Too Loose
When a bandsaw blade is bandsaw blade too loose, it has a tendency to flex and drift during the cutting process. This results in several undesirable outcomes:
- Wandering Cuts: The blade will not follow a straight line, making it impossible to achieve accurate joinery or precise cuts.
- Blade Drift: The blade might be pushed sideways by the resistance of the wood.
- Poor Finish: The cut surface can become rough or uneven due to the blade’s instability.
- Blade Coming Off Wheels: In extreme cases of a bandsaw blade slack, the blade can slip off the drive and idler wheels, which is dangerous and can damage the saw.
The Perils of a Bandsaw Blade Too Tight
Conversely, over-tensioning your bandsaw blade tension can be equally detrimental. If a bandsaw blade is bandsaw blade too tight, you risk:
- Blade Snapping: This is the most immediate and dangerous consequence. Excessive tension puts immense stress on the blade’s weld and gullets, making bandsaw blade snapping a real possibility. This can send pieces of metal flying.
- Accelerated Blade Wear: The constant strain can cause the teeth to dull faster and the blade to fatigue.
- Damage to Bandsaw Components: The increased pressure can warp or damage the bandsaw’s wheels, bearings, guides, and even the frame over time.
- Difficulty in Blade Tracking: An over-tensioned blade can be harder to keep centered on the wheels.
Achieving Proper Bandsaw Blade Tension
So, how tight should a bandsaw blade be? The answer isn’t a single, universal number, but rather a range that depends on several factors. The primary goal is to find the sweet spot where the blade is taut enough to resist deflection but not so stressed that it’s in danger of breaking.
Methods for Setting Bandsaw Blade Tension
There are a few ways to achieve proper bandsaw blade tension. Some are more precise than others.
1. The “Feel” Method (Traditional Approach)
For many years, woodworkers relied on touch and sound to gauge blade tension. This method requires experience and a good feel for the machine.
How it’s done:
- Initial Setup: With the saw powered off, place the blade on the wheels.
- Apply Tension: Gradually increase the tension using the adjustment mechanism (usually a handwheel at the top of the saw).
- The Twist Test: Gently twist the blade in the middle of its run between the upper and lower guides. A properly tensioned blade should have a slight “give” but feel firm. It should resist being twisted more than about 90 degrees. If it twists easily or feels floppy, it’s too loose. If it feels incredibly rigid and resistant to twisting, it might be too tight.
- The “Ping” Test: Some experienced users tap the blade lightly with a knuckle or a wooden dowel. They listen for a specific “ping” or “ring” that indicates the correct tension. A loose blade will have a dull thud. This is highly subjective and takes a lot of practice to master.
Pros:
- No special tools required.
- Can be quick once you have experience.
Cons:
- Highly subjective and inconsistent.
- Difficult for beginners to judge accurately.
- Doesn’t provide a quantifiable measurement.
2. Using a Bandsaw Blade Tension Gauge (Recommended)
For consistent and accurate bandsaw blade tension, using a dedicated bandsaw blade tension gauge is highly recommended, especially for beginners. These gauges provide a visual or numerical reading of the tension applied to the blade.
Types of Tension Gauges:
- Spring-Loaded Tensioners with Dials: Many modern bandsaws have built-in tension indicators, often a dial that shows a general range (e.g., “low,” “medium,” “high,” or a numerical scale). While these are helpful, they are often approximations.
- Stand-Alone Tension Gauges: These are external devices that you clip onto the blade or use in conjunction with the saw’s tensioning mechanism. They measure the deflection of the blade under tension or the actual force applied.
How to use a stand-alone tension gauge:
- Consult Your Saw’s Manual: Always check your bandsaw’s user manual for recommended tension settings for different blade widths and types.
- Mount the Gauge: Follow the gauge manufacturer’s instructions. Some clip onto the blade, while others measure deflection by pressing against it.
- Adjust Tension: Slowly increase tension on the bandsaw.
- Read the Gauge: Watch the gauge as you adjust. Aim for the recommended setting.
- Verify: Once the gauge indicates the correct tension, check that the blade is tracking correctly on the wheels and that there’s minimal deflection when pushed lightly.
Pros:
- Objective and repeatable results.
- Reduces guesswork.
- Promotes safer operation.
- Helps prolong blade and machine life.
Cons:
- Requires an investment in a tool.
- Need to understand the gauge’s readings and your saw’s specifications.
3. Tension Based on Blade Width and Type
The ideal bandsaw blade tension is also influenced by the width and type of blade you are using. Wider blades generally require more tension than narrower blades.
General Guidelines (Always verify with your saw’s manual and a tension gauge):
| Blade Width (Inches) | General Tension Range (PSI) | Notes |
|---|---|---|
| 1/8″ – 1/4″ | 15,000 – 20,000 PSI | Best for curves, thin materials. |
| 3/8″ – 1/2″ | 20,000 – 25,000 PSI | Good for general purpose cutting. |
| 3/4″ – 1″ | 25,000 – 30,000 PSI | For resawing and thicker lumber. |
| 1″ and wider | 25,000 – 35,000 PSI | Heavy-duty resawing, require robust saws. |
Note: PSI (pounds per square inch) is a common unit for measuring tension. Different gauges may use different units or simply provide a relative scale.
Blade Type Considerations:
- Carbon Steel Blades: Tend to be more flexible and may require slightly less tension than bi-metal or carbide-tipped blades.
- Bi-Metal Blades: Offer good durability and can often handle higher tension than carbon steel blades.
- Carbide-Tipped Blades: Designed for aggressive cutting and can typically withstand the highest levels of tension, but require a very sturdy bandsaw.
The Process of Bandsaw Blade Tensioning
Regardless of the method you choose, the process of how to tension a bandsaw blade involves a few key steps:
- Safety First: Ensure the saw is unplugged before you touch the blade or tensioning mechanism.
- Install the Blade: Mount the blade onto the wheels, ensuring the teeth are pointing forward (away from you).
- Initial Tension: Bring the blade up to a slightly snug tension, just enough to hold it in place without slack.
- Track the Blade: Before applying full tension, track the blade so it’s centered on the crown of the wheels. This usually involves adjusting the upper and lower wheel tilt mechanisms. The blade should be slightly forward of the center of the wheel face.
- Apply Tension: Gradually increase the tension using the adjustment handwheel.
- If using a gauge: Monitor the gauge and stop when it reaches the recommended PSI for your blade width and material.
- If using the feel method: Twist the blade lightly. It should feel firm, with minimal give.
- Check Tracking Again: As you increase tension, the blade might shift on the wheels. Re-track the blade to ensure it’s still properly aligned.
- Run the Saw Briefly: With the guides backed off slightly, run the saw for a few seconds. Listen for any unusual noises. Check if the blade remains on the wheels.
- Set the Guides: Once you’re confident with the tension, set your blade guides. These should be adjusted so they are just kissing the sides of the blade, providing support without binding. The thrust bearing should be just behind the blade.
- Final Tension Check: If using a gauge, re-check the tension after running the saw. Sometimes, the initial tension can settle slightly.
What to Do If Your Blade is Not Tracking Correctly
- Blade Too Loose: If the blade is bandsaw blade too loose, it will tend to drift backward on the wheels. Increase tension and re-track.
- Blade Too Tight: An over-tensioned blade might also drift, but more commonly, it will be very difficult to keep centered. Loosen the tension slightly.
- Wheel Alignment: If tracking issues persist, check the alignment of your upper and lower wheels. They should be parallel, and the upper wheel should have a slight tilt to keep the blade on the crown.
Common Bandsaw Blade Problems and Their Causes Related to Tension
Many issues you encounter with your bandsaw can be traced back to incorrect bandsaw blade tensioning.
Bandsaw Blade Snapping
Bandsaw blade snapping is a serious issue that is most often caused by one of two extremes:
- Over-tensioning: As mentioned, this puts immense stress on the blade, leading to fatigue and eventual breakage.
- Under-tensioning: While less likely to cause an immediate snap, a bandsaw blade too loose can lead to the blade jumping off the wheels and hitting something, or being damaged by the guides.
Other factors that can contribute to blade snapping:
- Blade Quality: A poorly manufactured blade or one with a bad weld is more prone to snapping, even at correct tension.
- Twisted Blade: Forcing a blade to make a cut that is too tight a radius for its width can cause it to twist and break.
- Damaged Teeth or Gullets: Nicks or damage can create stress risers, making the blade more likely to snap.
- Residue on Wheels: If dirt or pitch builds up on the bandsaw wheels, it can cause the blade to slip or bind, leading to uneven stress.
Inconsistent or Crooked Cuts
This is almost always a symptom of inadequate bandsaw blade tension.
- Bandsaw Blade Too Loose: The primary cause. The blade lacks the rigidity to resist the forces of cutting.
- Blade Width vs. Cut Type: Using a blade that is too narrow for the desired cut radius can cause it to flex and wander.
- Worn Guides: Damaged or misaligned blade guides can also contribute to crooked cuts, even with proper tension.
- Dull Blade: A dull blade requires more force to cut, which can cause deflection even if the tension is correct.
Premature Blade Wear
If your blades are dulling much faster than they should, consider your tension.
- Over-tensioning: Puts excessive stress on the teeth and blade material, causing them to wear out faster.
- Under-tensioning: Can cause the blade to vibrate or chatter, leading to premature wear on the teeth.
- Improper Tracking: If the blade is not tracking correctly, it might be rubbing against the guides or wheels in an unusual way, causing wear.
Bandsaw Blade Tension: A Practical Guide
Let’s solidify the practical application of setting your bandsaw blade tension.
Step-by-Step Tensioning Process
- Safety Check: Ensure the saw is unplugged and the power switch is off.
- Blade Selection: Choose the correct blade for your task (width, tooth count, material).
- Blade Installation: Place the blade onto the wheels, teeth pointing forward. Ensure it’s seated correctly in the wheel grooves.
- Initial Snug-Up: Use the tensioning handwheel to take up the slack in the blade. The blade should be snug but not yet under significant tension.
- Blade Tracking: Adjust the upper wheel tilt (and sometimes lower wheel tilt, depending on the saw design) so that the blade is positioned slightly forward of the center of the wheel face. The goal is to have the blade run on the “crown” of the wheel, where it’s most stable.
- Apply Tension:
- With Gauge: Gradually increase tension, watching your bandsaw blade tension gauge. Aim for the recommended PSI for your blade’s width.
- Without Gauge (Use Caution): Increase tension until the blade feels firm when twisted lightly (minimal flex). Listen for a “ping” if you’re experienced.
- Re-Check Tracking: After applying tension, the blade may shift. Re-adjust the upper wheel tilt to maintain proper tracking.
- Run and Test: Plug in the saw. With the blade guides backed off, run the saw for a few seconds. Listen for any unusual noises. Check that the blade stays on the wheels.
- Set Guides: Adjust the blade guides. Side guides should be very close to the blade’s sides, just touching. The thrust bearing should be close behind the blade.
- Final Tension Assessment: Run the saw under load (make a test cut). Check the blade tension again. Some saws have a tension indicator that might show a change after running. If using a gauge, re-check its reading. It’s common for tension to settle slightly.
What If I Don’t Have a Tension Gauge?
If you don’t have a bandsaw blade tension gauge, rely on the “feel” method, but be conservative. It’s better to have a blade that is slightly under-tensioned than significantly over-tensioned, as over-tensioning causes more damage.
- Twist Test: With the saw off, push the blade sideways. It should resist twisting more than about 90 degrees without significant effort. If it feels floppy, add tension. If it feels like you’re about to break it when you try to twist it, it’s likely too tight.
- Listen: Pay attention to the sound the blade makes when cutting. A properly tensioned blade will cut smoothly. A loose blade might vibrate or sound “chattery.”
Frequently Asked Questions (FAQ)
Q1: How do I know if my bandsaw blade is too loose?
A1: If your bandsaw blade is too loose, you’ll notice cuts that wander off your intended line, the blade may feel floppy when you try to push it sideways, and in severe cases, the blade might even come off the wheels.
Q2: Can a bandsaw blade snap even if the tension is correct?
A2: Yes, while proper bandsaw blade tension is crucial, other factors can lead to bandsaw blade snapping, including a defective blade, a bad weld, or forcing the blade to cut too sharp a curve for its width.
Q3: What is the recommended tension for a 1/2-inch blade?
A3: For a 1/2-inch blade, general recommendations often fall within the 20,000 to 25,000 PSI range, but this can vary. Always consult your bandsaw’s manual and use a bandsaw blade tension gauge for the most accurate setting.
Q4: How often should I check my bandsaw blade tension?
A4: It’s a good practice to check your bandsaw blade tension every time you change a blade or after extended periods of use. Also, re-check it after the first few cuts on a new blade, as tension can sometimes settle.
Q5: What does “tracking” mean in bandsaw operation?
A5: Tracking refers to the alignment of the bandsaw blade on the wheels. The blade should run centered on the crown of both the drive and idler wheels, typically riding slightly forward of the wheel’s center.
Q6: My new blade broke almost immediately. What could be the reason?
A6: This is a common sign of over-tensioning. The stress on the blade was too high from the start, leading to a rapid failure. Ensure you are using a bandsaw blade tension gauge and the correct settings. It could also indicate a manufacturing defect in the blade itself.
Q7: Can I use the same tension for all types of wood?
A7: While the primary tension setting is based on blade width and type, the resistance of the wood you’re cutting can sometimes influence how the blade performs. However, the core bandsaw blade tension setting should remain consistent unless you change the blade.
By paying close attention to bandsaw blade tensioning and utilizing the right tools and techniques, you can ensure smooth, accurate cuts, extend the life of your blades, and operate your bandsaw safely and efficiently. It’s a fundamental skill for any woodworker.