
Image Source: www.stihl.co.za
Chainsaw Care: How Often Should You Sharpen A Chainsaw?
How often should you sharpen a chainsaw? You should sharpen your chainsaw blade when you notice a decline in its cutting performance, typically after about 5-10 hours of use, or whenever you hear a change in the sound of the saw.
A sharp chainsaw is a safe and efficient chainsaw. Neglecting chainsaw chain maintenance can lead to a host of problems, from increased effort and reduced productivity to potential damage to your saw and even injury. Knowing when to sharpen a chainsaw is a crucial skill for any chainsaw owner. This guide will delve into the details of chainsaw sharpening frequency, the signs of a dull chain, and best practices for keeping your saw in top cutting condition.
Why Chain Sharpness Matters
The chainsaw blade sharpness is the single most important factor determining your saw’s effectiveness. A sharp chain cuts through wood smoothly and quickly with minimal effort. A dull chain, on the other hand, struggles to bite into the wood, forcing you to push harder. This not only makes the job more tiring but also puts unnecessary strain on the engine and other components of the chainsaw.
The Impact of a Dull Chain
- Reduced Cutting Speed: Wood will not feed into the gullets easily.
- Increased Physical Strain: You’ll have to push the saw, leading to fatigue.
- Poor Cut Quality: The wood might splinter or tear rather than cut cleanly.
- Vibration: A dull chain can cause the saw to vibrate more, making it harder to control.
- Engine Overheating: The engine works harder to compensate for the dull chain, potentially leading to overheating.
- Kickback Risk: While many factors contribute to kickback, a dull chain that doesn’t cut cleanly can increase the risk.
- Chain and Bar Wear: A dull chain can cause faster wear on the chain itself and the guide bar.
Deciphering Chainsaw Dullness Symptoms
Recognizing the signs of a dull chainsaw chain is key to maintaining optimal chainsaw cutting performance. Don’t wait until your saw stops cutting altogether. Be attuned to subtle changes.
Common Signs of a Dull Chain:
- Saw Dust: Instead of fine sawdust, a dull chain produces larger, fluffy chips. This indicates the chain is tearing rather than cutting.
- Slow Cutting: The saw takes longer to cut through logs or branches, and you have to apply more pressure.
- Blue-Tinged Sawdust: If you see sawdust that appears slightly blue or scorched, it’s a sign the chain is generating excessive heat due to friction from dull teeth.
- Chain Walks: The chain tends to wander or deviate from a straight line while cutting.
- Engine Roars, but No Wood Goes: The engine revs high, but the chain doesn’t penetrate the wood effectively.
- Vibrations: You feel excessive vibration through the handles.
- Inability to Cut: The most obvious sign – the chain simply stops cutting into the wood.
Determining Your Chainsaw Filing Frequency
The question of how often should you sharpen a chainsaw isn’t one-size-fits-all. Several factors influence the ideal chainsaw sharpening interval.
Factors Affecting Chainsaw Sharpening Frequency:
- Type of Wood: Cutting hardwood, knotty wood, or dirt-infested wood will dull your chain much faster than cutting soft, clean pine.
- Usage Time: As a general rule of thumb, most users find they need to sharpen their chainsaw chain after approximately 5 to 10 hours of actual cutting time.
- Your Sharpening Skill: An improperly sharpened chain will dull faster than one sharpened correctly.
- Chain Quality: Higher-quality chains often hold their edge longer.
- Presence of Abrasives: Even small amounts of dirt, sand, or grit embedded in the wood can rapidly wear down the cutting edges of the chain teeth.
Establishing a Chainsaw Maintenance Schedule
A proactive chainsaw maintenance schedule will ensure your saw is always ready to perform. Sharpening is a key part of this schedule.
A Recommended Basic Schedule:
- Before Each Use:
- Check chain tension.
- Inspect the chain for any damage or missing teeth.
- Ensure the chain lubrication system is working.
- After Each Use (or as needed based on symptoms):
- Clean the saw, including the bar and chain.
- Check the chain for dullness and sharpen if necessary.
- Inspect the chain for chain tooth wear.
- Regularly (e.g., every few uses):
- Check and clean the air filter.
- Check the spark plug.
- Inspect the guide bar for wear and flatness.
The Art and Science of Chainsaw Sharpening
Chainsaw sharpening tips are essential for achieving optimal results. Whether you do it yourself or have it done professionally, the goal is to restore the cutting edges of each chain tooth to their original sharpness.
DIY Sharpening: What You Need
- Round File: The size of the file depends on your specific chainsaw chain. Check your saw’s manual or the chain packaging for the recommended file size.
- File Holder/Guide: This tool helps maintain the correct angle and depth of filing. It’s crucial for consistent sharpening.
- Flat File (Depth Gauge File): Used to lower the depth gauges.
- Depth Gauge Setting Tool: Helps ensure the depth gauges are set correctly relative to the teeth.
- Gloves and Safety Glasses: Always prioritize safety.
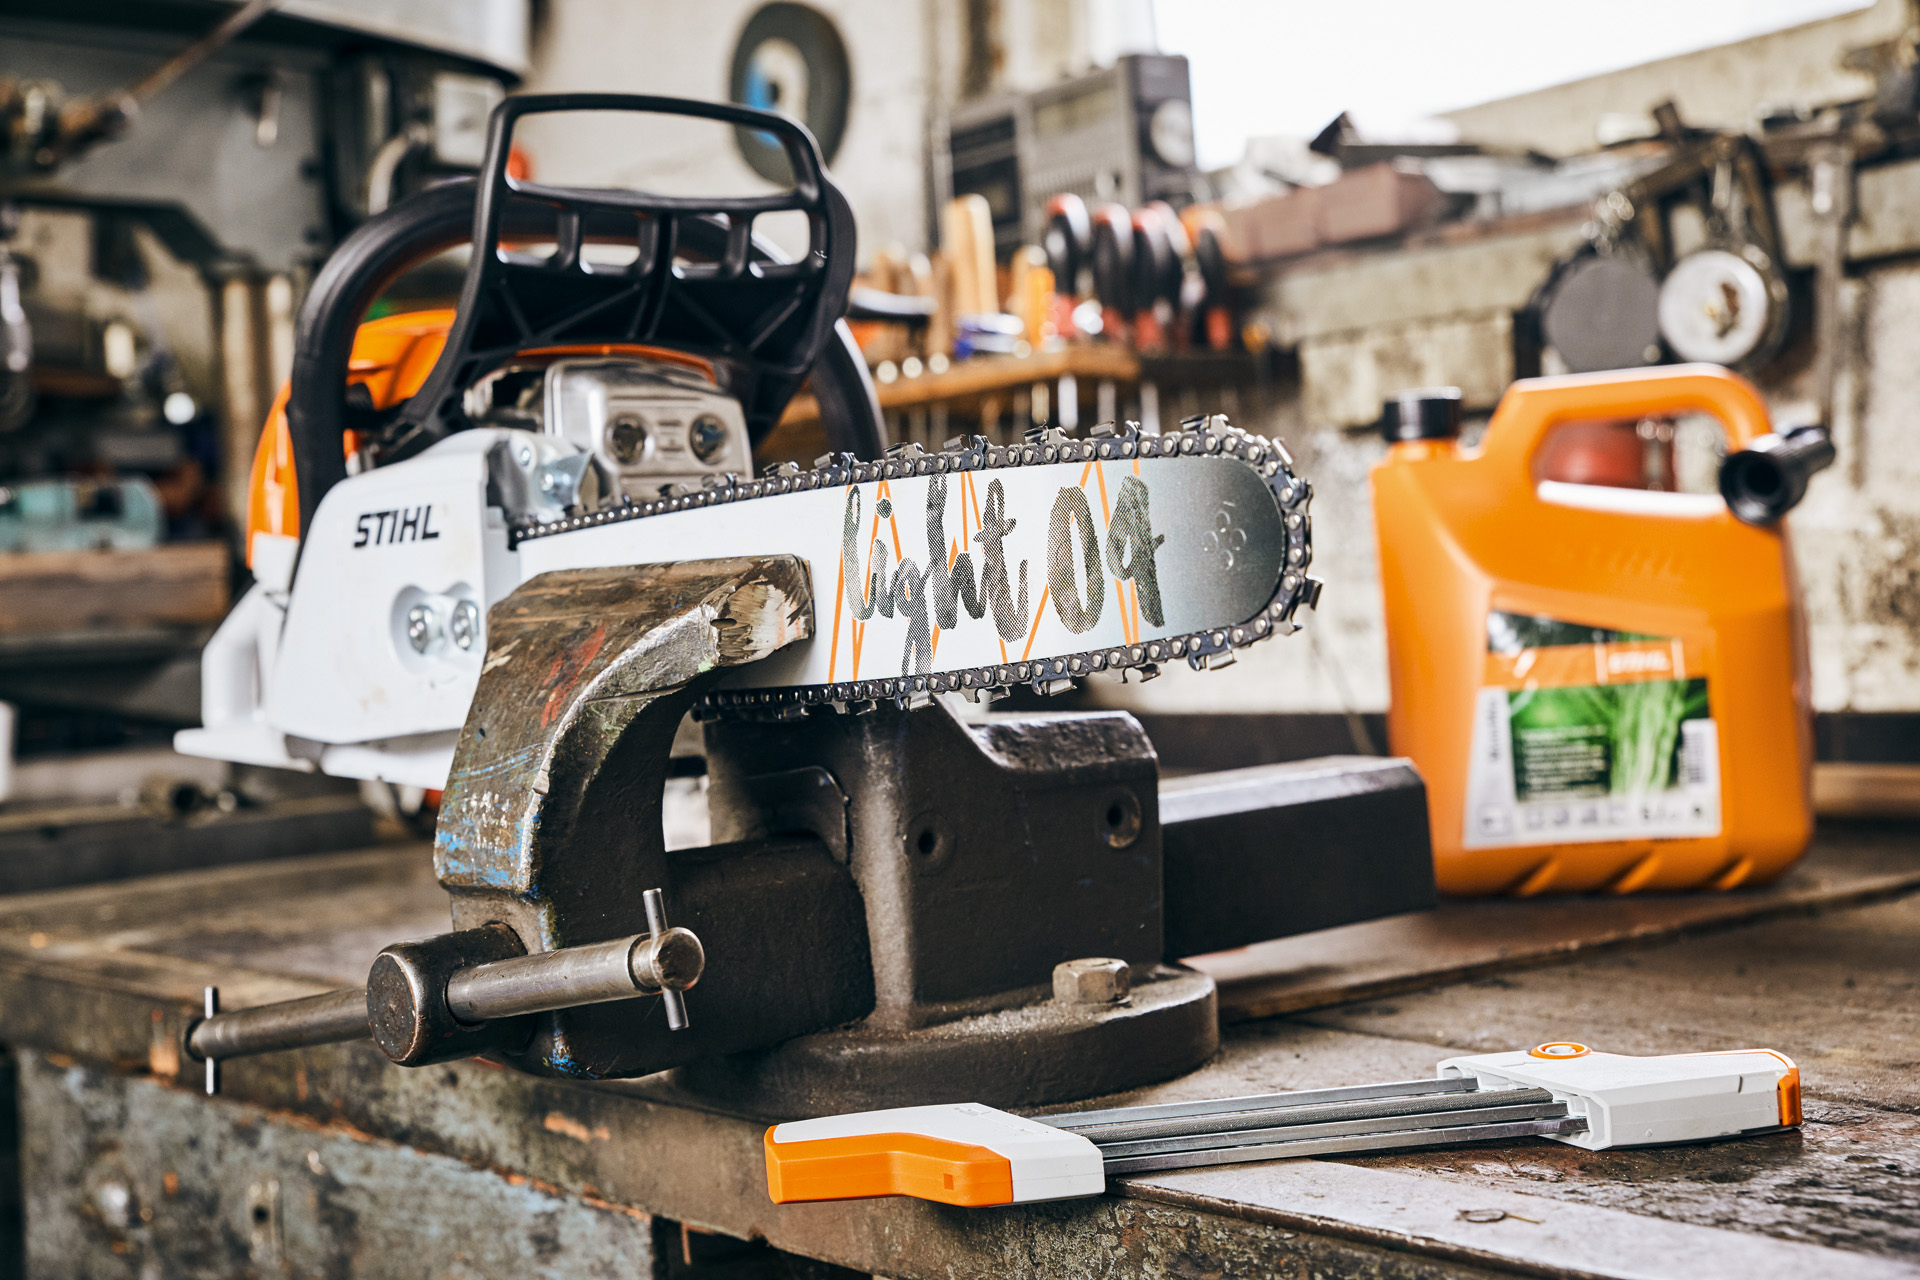
- Vice or Saw Horse: To hold the guide bar steady while sharpening.
- Owner’s Manual: For specific instructions for your chainsaw model.
The Sharpening Process: A Step-by-Step Overview
- Secure the Chainsaw: Clamp the guide bar firmly in a vice or on a stable surface so the chain can move freely.
- Engage the Chain Brake: Ensure the chain brake is engaged to prevent accidental movement.
- Locate the Starting Tooth: Find the first tooth you will sharpen. Often, it’s easiest to start at the top of the bar.
- Set the Angle: Place the round file in the gullet of the tooth, ensuring it rests on the top plate and the cutting edge. Use the file guide to maintain the recommended angle (usually 25-35 degrees, check your manual).
- File the Tooth: File with smooth, even strokes from the inside of the tooth to the outside. Apply firm, consistent pressure. Typically, 3-5 strokes per tooth are sufficient. Lift the file on the return stroke.
- Move to the Next Tooth: Skip one tooth (the cutter) and sharpen the next one on the same side of the chain.
- Sharpen the Other Side: Once you’ve sharpened all the teeth on one side, rotate the saw or reposition yourself to sharpen the teeth on the other side. Maintain the same angle and number of strokes.
- Check Depth Gauges: After sharpening all the teeth, you’ll need to address the depth gauges. These are the small metal pieces in front of each cutter. They control how much wood each tooth can bite. Use the flat file and the depth gauge setting tool. The tool will rest on the top of the tooth, and you file the depth gauge down to the level of the tool.
- Clean and Reinstall: Once all teeth and depth gauges are addressed, clean any metal filings from the chain and the saw. Check chain tension.
When to Consider Professional Sharpening
- Lack of Confidence: If you’re not comfortable performing the sharpening yourself.
- Complex Chains: Some specialized chains might require specialized tools or techniques.
- Time Constraints: Professional sharpening can save you time.
- Consistently Poor Results: If you’ve tried DIY sharpening and aren’t achieving good results.
Gauging Chain Wear and Replacement Needs
Even with regular sharpening, chains don’t last forever. Chain tooth wear is inevitable. Recognizing when a chain is beyond resharpening is important.
Signs a Chain Needs Replacement:
- Chain Stretching: Over time, the rivets and rollers in a chain can wear, causing it to stretch. You might find yourself constantly tightening the chain, or it may not hold tension properly.
- Severely Worn Teeth: If the cutting teeth become too short or misshapen even after sharpening, they may need to be replaced.
- Cracked or Damaged Rivets: If any of the rivets holding the chain together are damaged, the chain is compromised.
- Excessive Bar Groove Wear: A worn chain can also contribute to excessive wear on the guide bar, indicating it’s time for both to be replaced.
- Multiple Sharpenings: Most chains can be sharpened a certain number of times before they are too worn to be effective.
The Role of Lubrication in Chain Sharpness
Proper lubrication is crucial for both chain sharpness and longevity.
Why Lubrication is Key:
- Reduces Friction: Lubricant reduces the friction between the chain, bar, and sprocket.
- Cools the Chain: Friction generates heat, and lubricant helps dissipate this heat.
- Prevents Rust: Protects the metal components from corrosion.
- Clears Debris: Helps wash away sawdust and debris, preventing buildup.
Ensure your chainsaw’s automatic oiler is functioning correctly. If you have a manual oiler, use it frequently during operation.
Frequently Asked Questions (FAQ)
Q1: Can I sharpen a chainsaw with a grinder?
While angle grinders can be used by experienced professionals with specific attachments and techniques, it is generally not recommended for the average user. The risk of overheating and damaging the temper of the chain teeth is very high, leading to a chain that dulls even faster. Stick to files and guides for consistent and effective sharpening.
Q2: How do I know if my chainsaw chain is dull?
Signs include slow cutting, fluffy sawdust instead of fine chips, the saw walking or deviating from a straight cut, and the engine revving high without cutting effectively.
Q3: How much pressure should I use when filing?
Use firm, consistent pressure. The goal is to remove metal from the cutting edge, not to force the file. Overly aggressive filing can remove too much material or unevenly wear the teeth.
Q4: How often should I sharpen my chainsaw chain?
This varies, but a good rule of thumb is after every 5-10 hours of cutting. It’s best to sharpen when you notice any signs of dullness to maintain optimal performance and safety.
Q5: What happens if I don’t sharpen my chainsaw chain?
You’ll experience reduced cutting efficiency, increased physical strain, potential damage to your saw and bar, and a higher risk of kickback.
Q6: How do I check for chain stretch?
You can often see stretch by observing if the chain is consistently loose even after tightening. You can also use a chain wear gauge if you have one. If the chain doesn’t sit flat on the bar and the drive links are no longer fully seated in the bar groove, it might be stretched.
By paying close attention to your chainsaw’s performance and following a consistent maintenance schedule, you can ensure your saw is always ready for the task at hand. Regular sharpening is not just about efficiency; it’s a cornerstone of safe and effective chainsaw operation.